
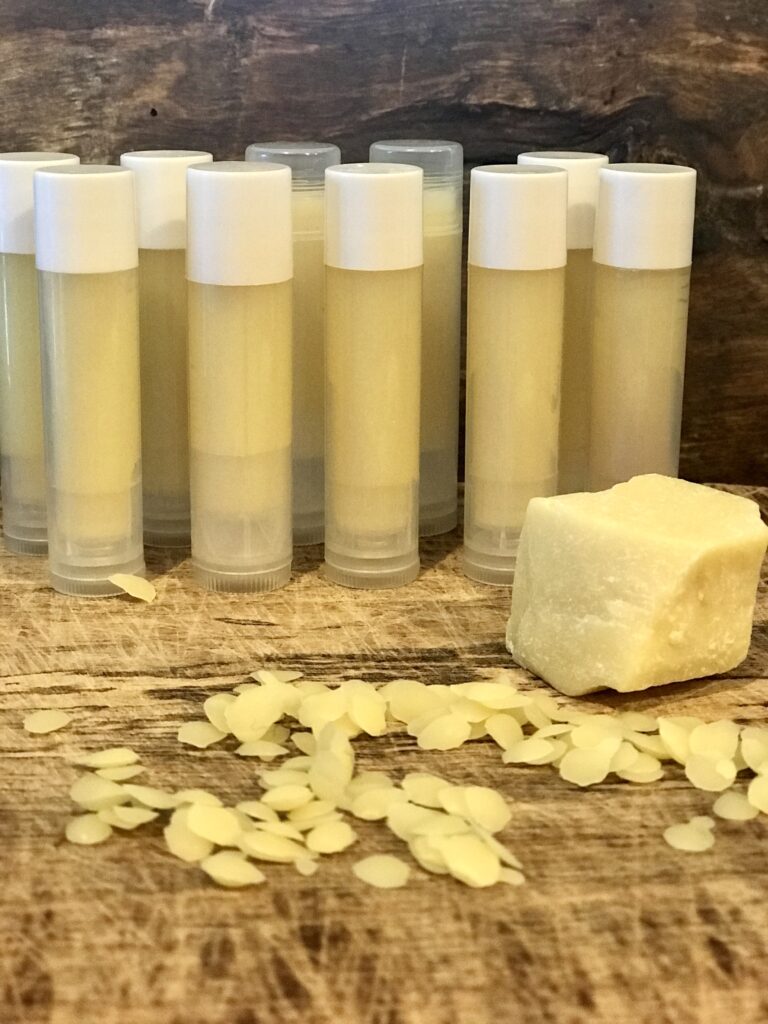
Why spend $2-$7 on lip balm when, for a fraction of the cost, homemade is so much more fun, easy, and oh-so-nourishing? Make your own deliciously silky-smooth, all-natural Love Your Lips Nourishing Lip Balm. It’s made with shea and cocoa butters, almond and jojoba oils, beeswax, and essential oils. I use nothing but the good stuff.
An Encouraging Way to Start Your DIY Journey
Lip balm is essential. Making your own lip balm is…brilliant. With a large family, we go through lip balm like water. I jumped all in when I realized I could make my own lip balm for a fraction of the cost. Now granted, there are some DIY recipes that you are not saving money by making yourself. My daughter sometimes laughs at me when I justify spending a fortune to save a buck. Some DIY projects are better left to those who specialize in them. Fortunately, I make so many of our natural home and body products now that I can justify that whole bottle of jojoba oil. I use it in everything. Starting, it will be an investment, but in the long run, when you have all the ingredients on hand, and you are making batch after batch of your own nourishing lip balm, you will save a pretty penny.
I realize the list of items for this recipe is long, but it just doesn’t add up when you consider paying $2-$7 a tube when you can make 10-15 for less than one tube. You don’t need the fancy test tube tray to hold your tubes(although it makes it easier). No funnels or fancy pans are required (although I recommend investing in a few things if you plan to do this often). Just the ingredients and a steady hand. I am telling you when you pour your first tube of lip balm, watch it harden, and then apply it to your lips, you will be running to the neighbor’s house, telling them how amazing you are and giving away all your booty. There is nothing like the feeling of doing something yourself, of saying, “I did this!” You can do it. It is so fun and fulfilling and, oh, so nourishing.
My Preferences
I have been making my own lip balm for years. Gift-giving is a cinch, especially when all my children and friends now expect it in their stockings and gift bags. Although I have experimented with many recipes, I keep returning to this one. I love the rich feel of the shea and cacao butter (I am not a fan of coconut oil in my skincare products). The rich almond and jojoba oils are so nourishing to the skin. This recipe is not stiff or clumpy but smooth and silky and tastes yummy too.
I add honey to my recipe because it is super nourishing and healing for the skin. It is a wonderful protective addition, loaded with phytonutrients, amino acids, enzymes, vitamins, and minerals. Plus, it gives it a lip-smacking flavor punch. Hey, it is sitting on my lips all day. I might as well enjoy it. Make sure to add it after your base is removed from the heat so the healing properties are not destroyed. Also, stir like crazy. The honey likes to sit at the bottom of the pan, which means your last tube may be buzzing with a lot more honey-to-wax ratio. No problems here. That is usually my favorite tube.
Making Substitutions
If you don’t have shea butter, you can double up on the cacao butter to give it a more chocolatey flavor. It will give it a stiffer consistency, though. Feel free to use avocado oil if you don’t have almond or jojoba. Just make sure the oil-to-butter ratios are the same. My recipe uses all my favorite ingredients. If finances are an issue, don’t let not having all the exact ingredients deter you from making your own lip balm. Just experiment and have fun.
Feel free to use lip tins instead of lip balm tubes if that is your vibe. It is not mine, as I don’t like the idea of being out in the grocery store with nasty hands from pushing the cart around (that everyone and their mom has touched) only to discover that my lips are parched from dehydration and I can’t use my lip balm because it is in a tin. Just say’n. Some of you may not even be tracking with me. And that is okay. You are freer than me. I use tins for salves at home when administered with clean hands. Yes, I am one of those moms.
A Note on Essential Oils
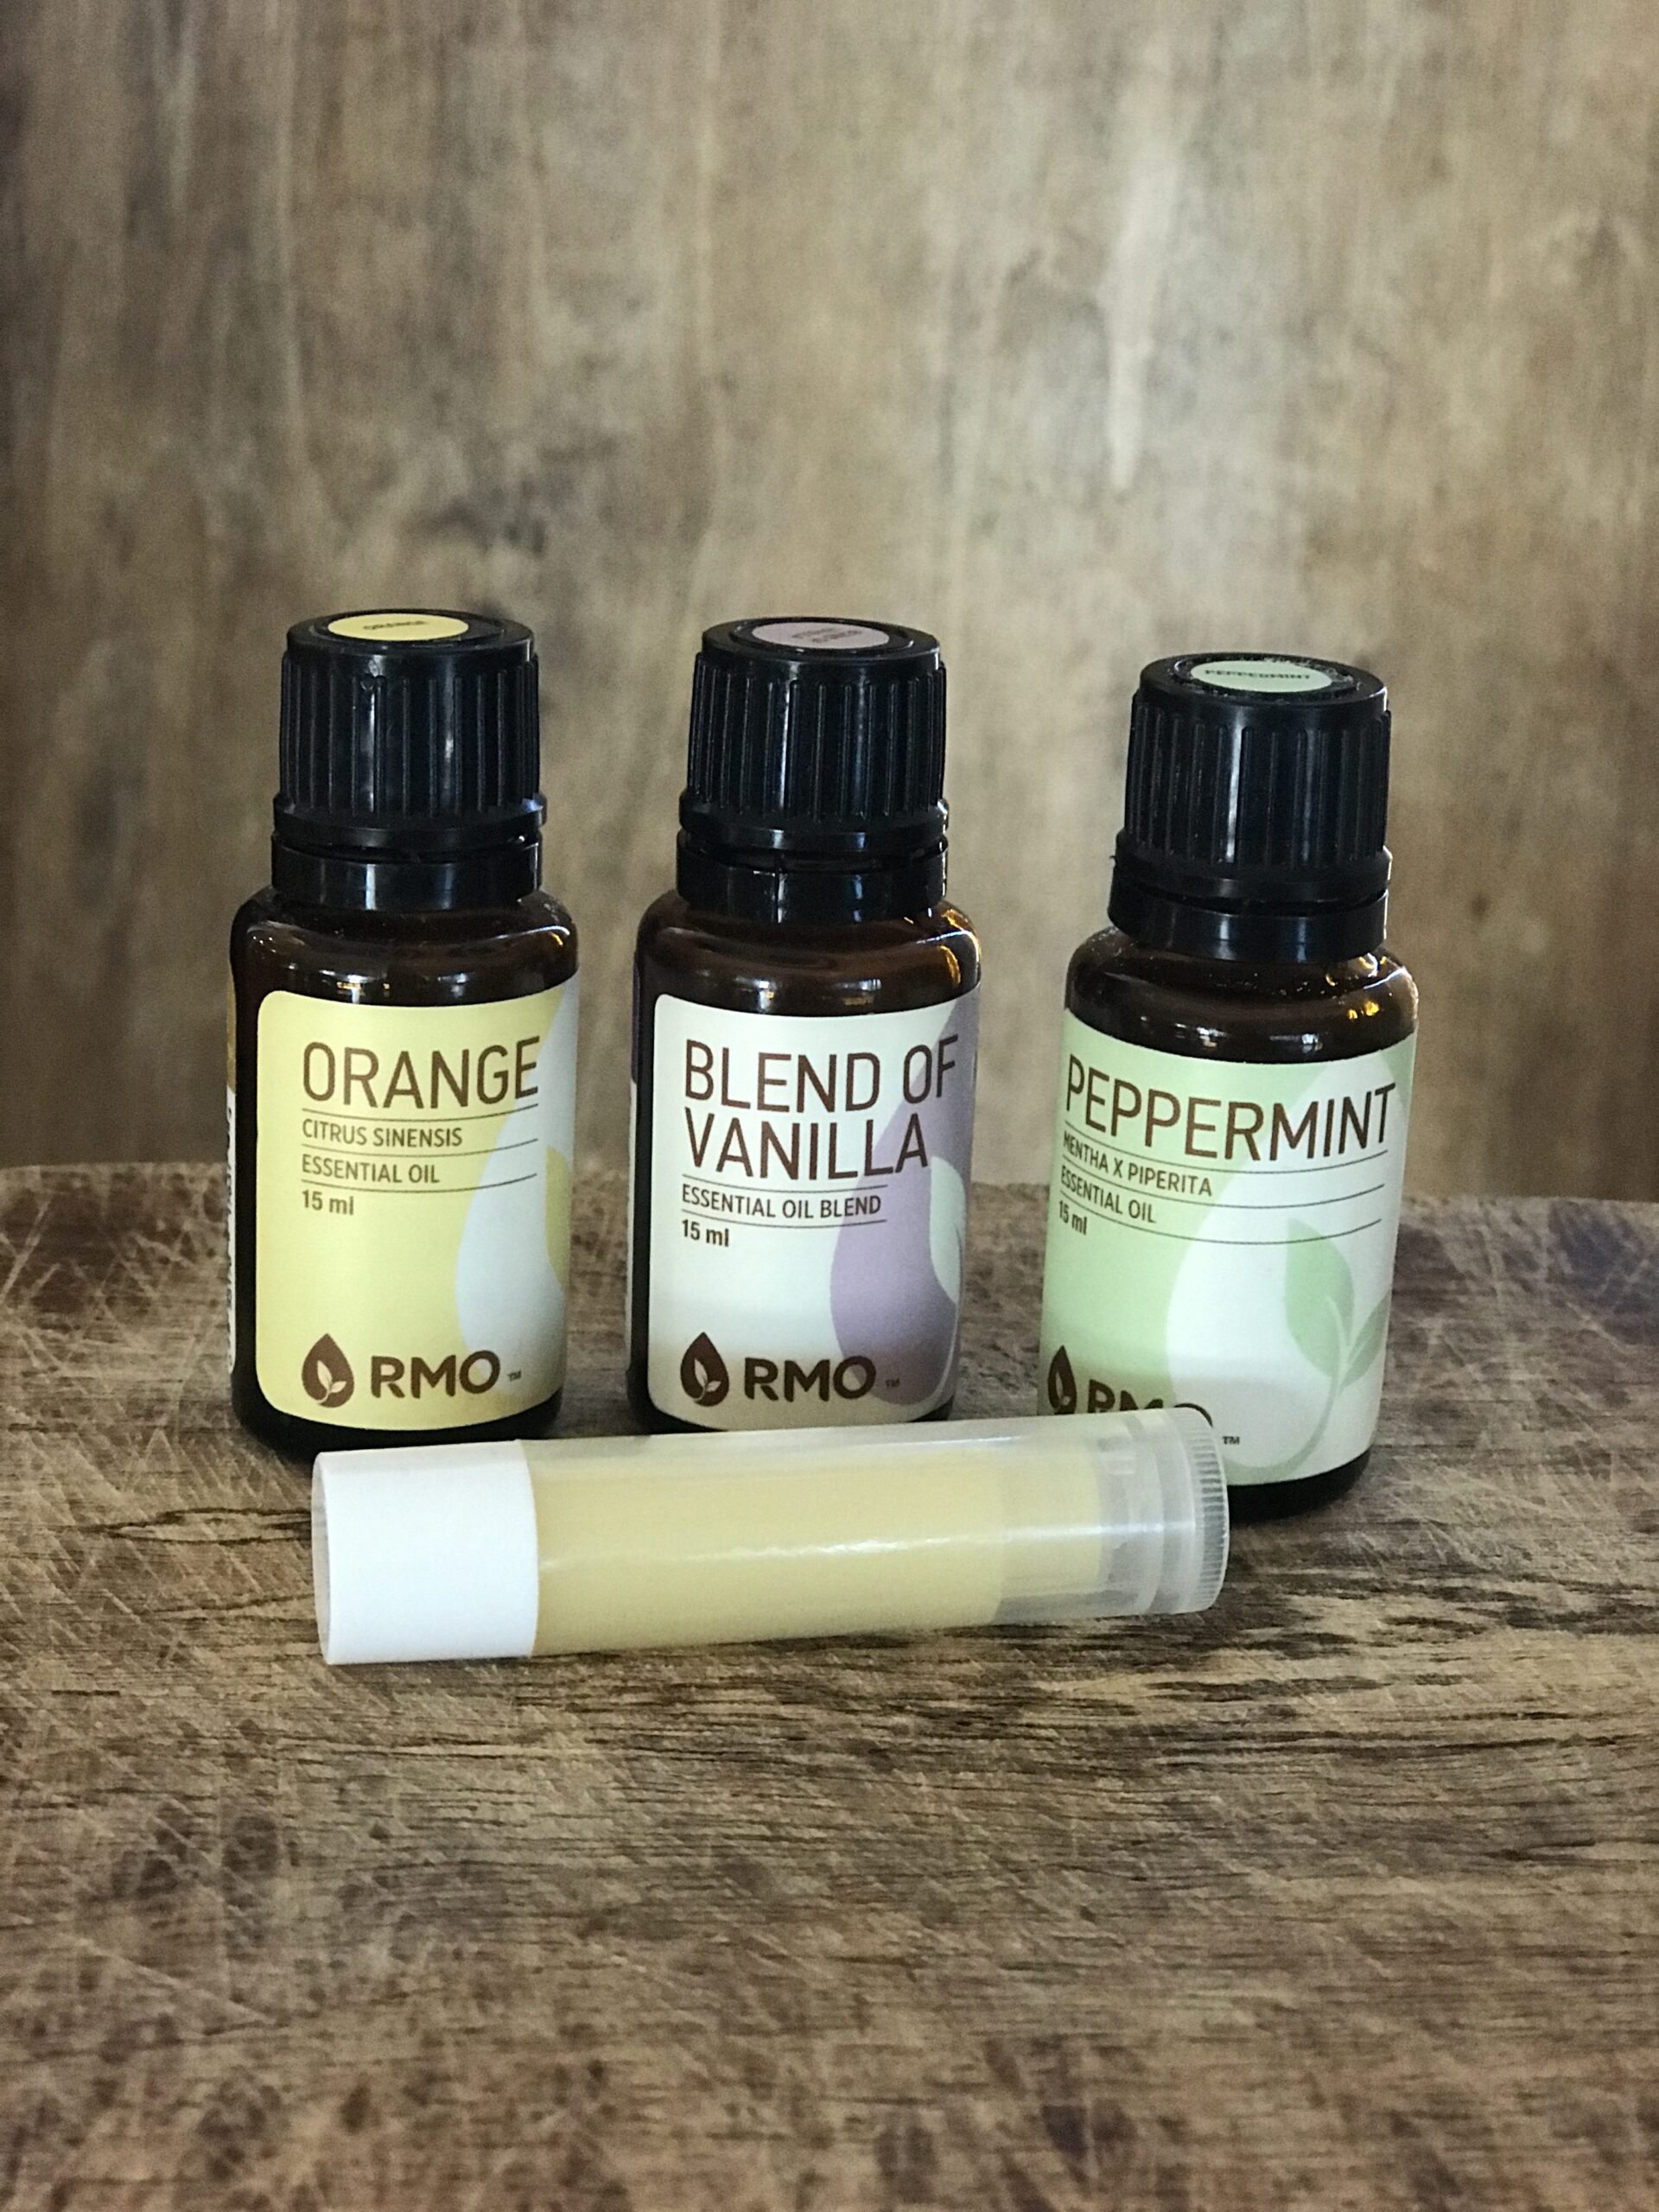
You can use whatever essential oils you like, but my favorites are orange, peppermint, and vanilla…heavy on the peppermint because I love that warm, tingly feel on my lips. Think Burts Bees tingly. Steer clear of hot oils such as cinnamon, eucalyptus, or clove. They will give you hot lips…you know what I mean. Also, avoid most citrus oils, excluding orange, if you hang out in the sun for long periods. Citrus oils are photosensitive, meaning they magnify the sun. Here are some recommended essential oils:
- orange, sweet orange, or blood orange
- peppermint
- spearmint
- coconut
- vanilla
Admittedly, I don’t sell essential oils but have my preferences. I also am not married to one particular brand. For instance, I love DoTerras OnGuard for all things “germy” and anti-everything. It smells fantastic and tastes great…just don’t get it on your lips, speaking of hot lips. However, Young Living has a fantastic product and company; many of my friends are distributors. Ultimately, I researched and wanted to find a company that wasn’t an MLM yet still produced a superior, therapeutic-grade product. I LOVE Rocky Mountain Oils. I have been happily using their products for years. They also have an excellent children’s line. In a pinch, I will use Eden’s Garden or Plant Therapy on Amazon. That’s my two cents worth on essential oils.
Recipe for Love Your Lips Nourishing Lip Balm
Love Your Lips Nourishing Lip Balm

Why spend $2-$7 on lip balm when, for a fraction of the cost, homemade is so much more fun, easy and oh, so nourishing? Make your own deliciously silky-smooth, all-natural, Love Your Lips Nourishing Lip Balm. Made with shea and cocoa butters, almond and jojoba oils, with beeswax and essential oils. I use nothing but the good stuff.
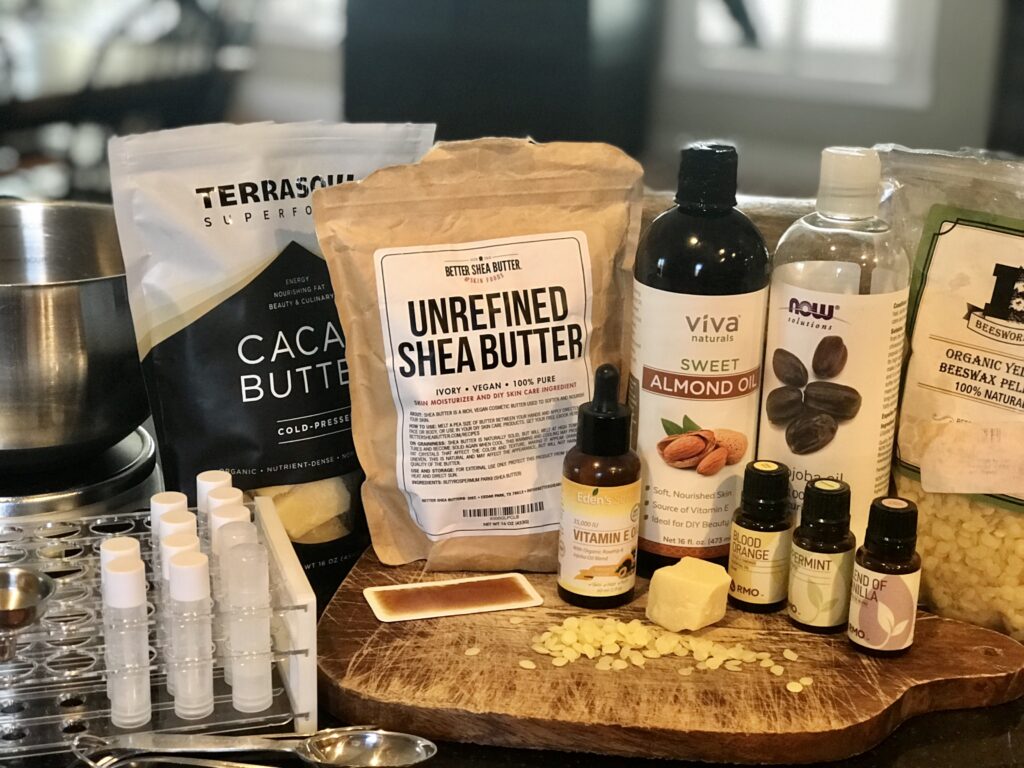
Materials
- 2 tsp. (0.4 oz) beeswax
- 4 tsp. (0.6 oz shea butter
- 2 tsp. (0.4 oz) cocoa butter
- 2 tsp. (0.2 oz) almond oil
- 2 tsp. (0.2 oz) jojoba oil
- 1 tsp. (0.2 oz) raw honey
- 10 drops vitamin E oil
- 24 drops total essential oils (I use a combination of orange, peppermint, and vanilla EO)
Tools
- Double boiler or makeshift double boiler using a 4 qt pot and stainless steel bowl
- Wooden Skewer (for stirring)
- Lip balm tubes or tins
- Kitchen Scale and bowl if measuring in ounces
- Labels (optional)
- Test tube holder (optional)
Instructions
- To preface, I ALWAYS use a kitchen scale when measuring out any recipe using beeswax or butters. Unlike oils, butters and beeswax come in solid bricks or pellets, The only way to ensure accurate measuring is through weight.
- Using a kitchen scale and bowl, zero out the scale with the bowl on top and add your beeswax and butters.
- Melt in your double boiler over medium low heat stirring with a wooden skewer *
- When it is melted, add in your measured almond and jojaba oils and stir.
- Remove from heat and add your honey, Vitamin E oil, and Essential oils.
- Working quickly, pour into lip balm tubes or tins and let cool for a few minutes before capping *
Notes
- Wooden skewers are helpful because they are disposable. When cleaning out your bowl after you are finished pouring, it is important to wipe clean the bowl of the excess wax and butter residue. You don't want that to go down the sink causing buildup in your pipes.
- If, while pouring your tubes, your lip balm base hardens in the bowl too quickly, just set it over the pot of hot water of the double boiler for a few seconds to remelt. You don't want to do this for a long time as heat will destroy the properties of your essential oils.
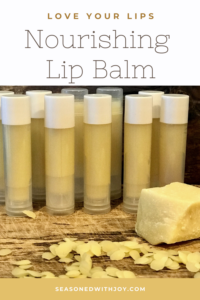
Using a Test Tube Holder
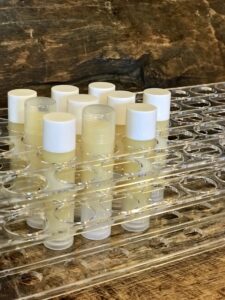
I am all about efficiency and making things easier. Thankfully, I discovered that a test tube holder was the perfect size for holding all my lip balm tubes in place while I poured. They also store nicely in my closet ready to give as gifts. You don’t have to use one, but it makes life easier.
Shop This Post
My Favorite Essential Oils (Orange, Peppermint, Vanilla)
Double Boiler Wax Melting Pot (Best for easy clean-up. Just wipe clean. I use this for making candles and lip balm)
Pin For Later
In everything you do -eat, play, and love- may it always be Seasoned with Joy!
This post contains affiliate links, which means I make a small commission at no extra cost to you. Unless stated otherwise, I will only recommend products I personally enJOY. See my full disclosure here.