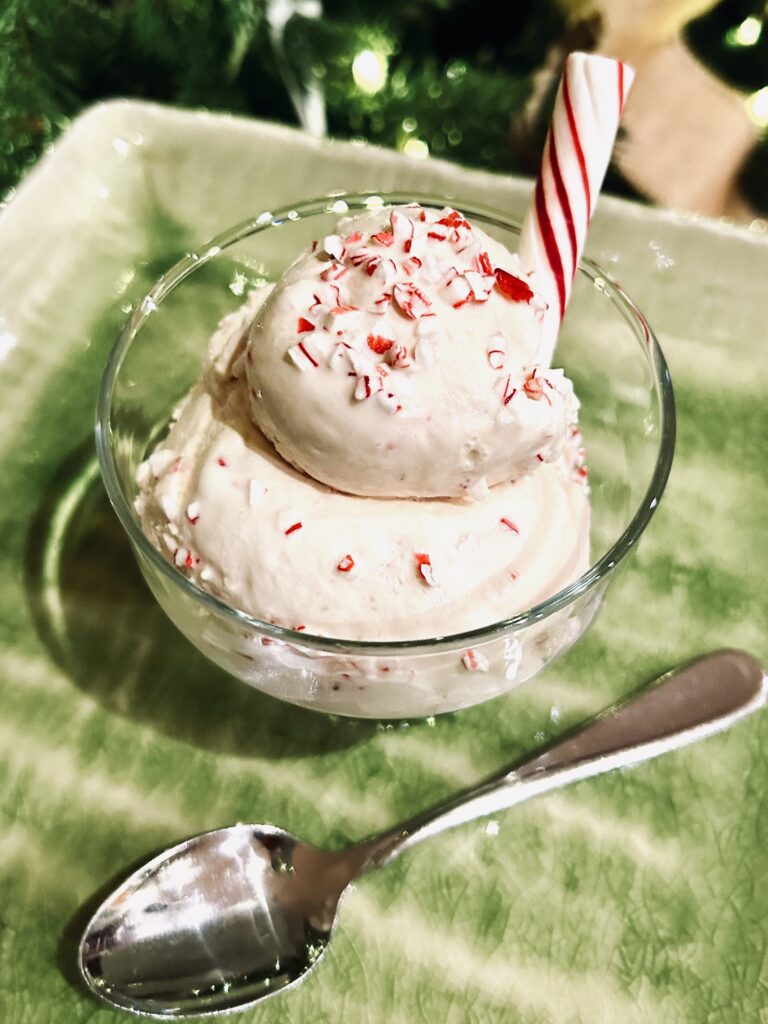
Creamy, dreamy, and oh so pepperminty with a crunch. You will love this seasonal treat of Peppermint Candy Cane Ice Cream.
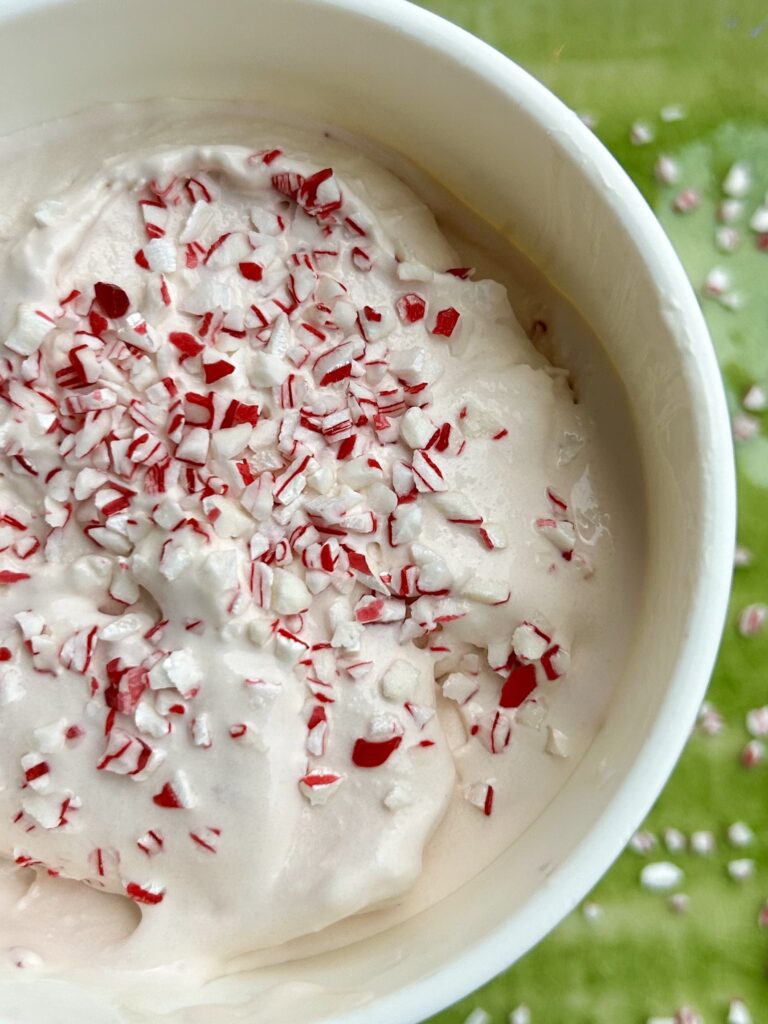
A Seasonal Treat
It’s that time of year again for seasonal Peppermint Candy Cane Ice Cream. I love seasonal treats because looking forward to something is almost as wonderful as partaking in it. At least, it is for me. As a kid, I couldn’t wait for December when the ice cream shops and grocery stores carried candy cane ice cream. Now that I am older and much more aware of what I am eating, I prepare my own Peppermint Candy Cane Ice Cream without all the questionable ingredients. Truly, there is no need to miss out on all the wonderful treats, especially this time of year. You will love this seasonal holiday treat and so will the kiddos.
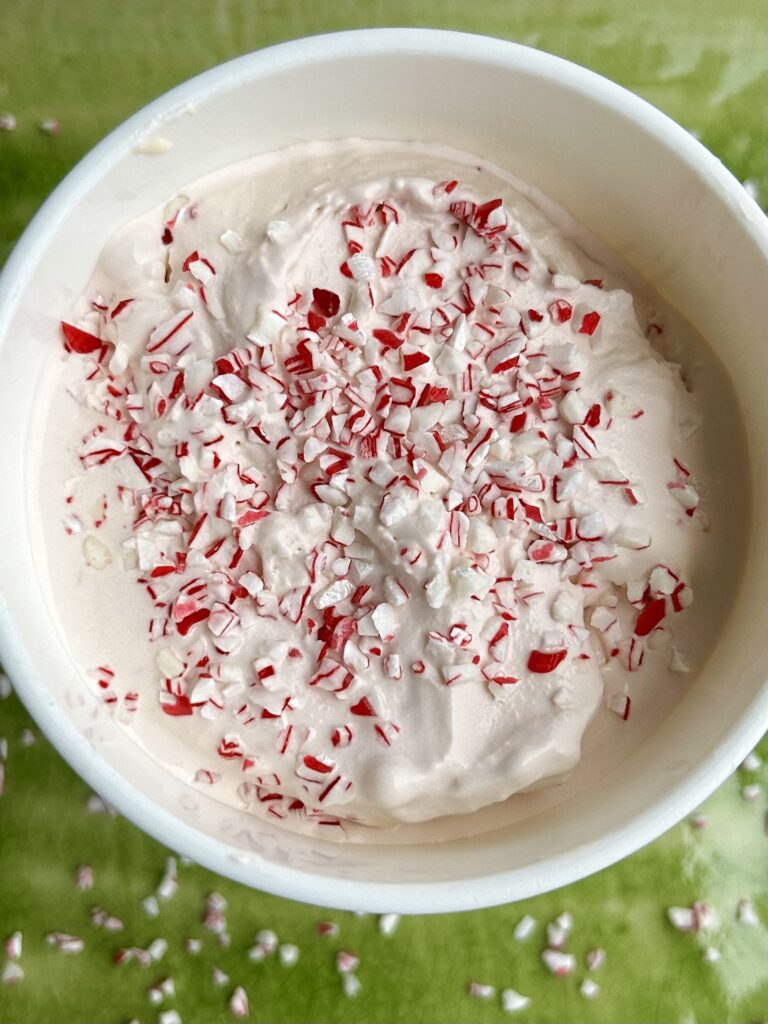
Just Add Peppermint Frost
The “Cool” thing about this recipe is that you start with my vanilla ice cream base (see below) and add about a cup of Hammond’s Crushed Peppermint Frost at the last 5 minutes of the churning cycle. Technically, you could crush up some organic candy canes, which are also available this time of year at places like Whole Foods or even on Amazon. Hammond’s Crushed Peppermint Frost is so easy peasy, and there is nothing yucky in the ingredients. It is just cane sugar, tapioca syrup, vegetable juice or color, natural flavor (the only questionable ingredient), and peppermint oil.
Vanilla Ice Cream Base
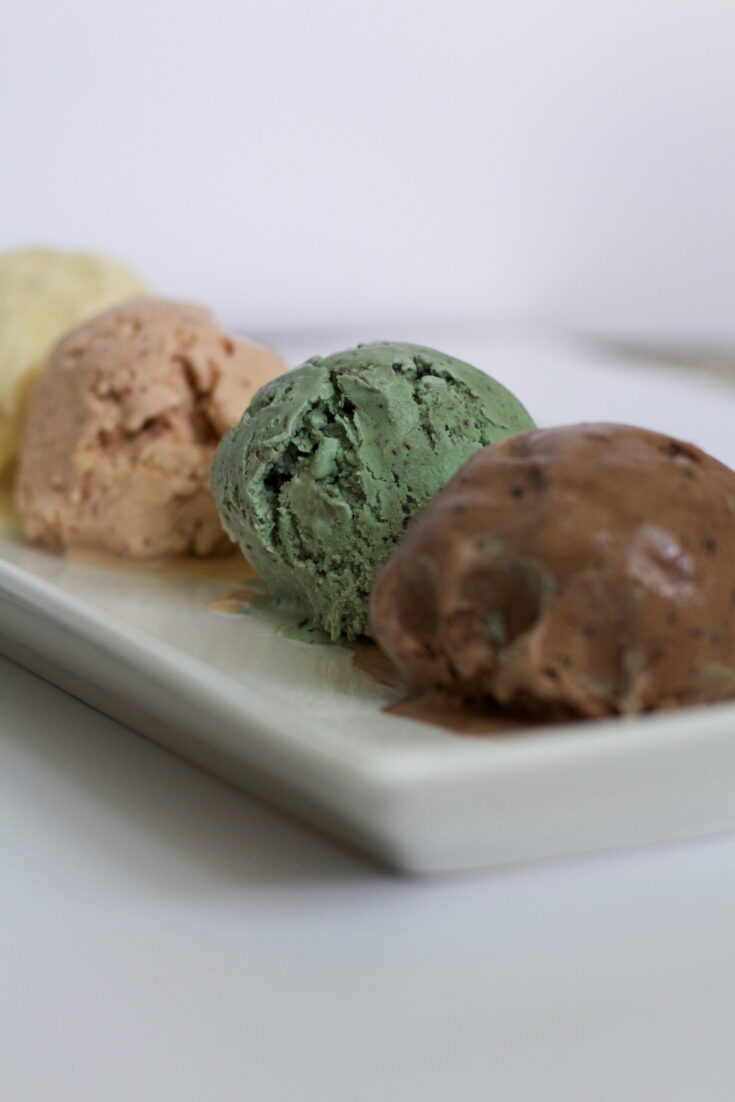
This is a vanilla ice cream base that can be adapted into many delicious flavors: Double Trouble Chocolate, Spirulina Mint-chip, Peppermint Candy Cane, and Roasted Strawberry Balsamic, to name a few. Enjoyed as is, topped with toasted nuts or berries, scooped in a banana split, blended into a shake, or smothered in a delicious sauce, vanilla is the most versatile of all ice cream flavors. No heating is required. Only pure, creamy, mapley goodness for a year-round adaptable treat.
Ingredients
- 4 cups organic cream (preferably raw and organic from healthy cows on pasture, but at least try and stay away from ultra-pasteurized cream)
- 2/3 cup pure maple syrup
- 1 T tapioca powder/flour/starch (used to thicken and make ice cream more scoopable)
- 3 organic egg yolks (preferably from local, farm-raised, pastured chickens.)
- 1 tsp pure vanilla extract
- 1 tsp. Celtic sea salt or Real salt, fine grind
- 1 tsp.vanilla powder (optional if you want vanilla bean flecks)
Instructions
Before you start your ice cream:
You will be using an ice cream maker, so make sure to follow the manufactures instructions for your ice cream maker. I have a Cuisinart Pure Indulgence 2 QT Ice Cream Maker.
Make sure that the ice cream insulated bowl, that comes with your ice cream maker, has had at least 24 hours to freeze in the freezer. Also, it doesn't hurt to have the containers your ice cream will be going into placed in the freezer to chill as well. The goal is to have everything cold so it freezes quickly.
For the ice cream base:
1. Pour all ingredients into a blender and blend on a low setting until ingredients are incorporated. This should take about 30 seconds. Don't over blend. We don't want to make whipped cream.
2. When your ice cream base is ready, remove the insulated ice cream bowl from the freezer and place in the maker. Put the stirring blade inside and place the top on. Turn the machine on. While the maker is churning, slowly add the contents from the blender.
3. Set the timer for about 40 minutes give or take the temperature of your home.
4. You will know the ice cream is done when you hear the motor begin to struggle to churn. You want the ice cream to reach its thickest point and then IMMEDIATELY scoop out into your pre-chilled containers and pop in the freezer. RESIST any distractions at this point!!!
5. Avoid using metal in your ice cream maker as it will scratch. Rubber spatulas are too flimsy. I prefer a hard plastic rice scooper.
6. Chill at least 6 hours or overnight unless you prefer a soft serve texture. I usually can't wait. I recommend preparing this ice cream the day before so it has a proper time to freeze.
Notes
If adding any additional ingredients like chopped chocolate, nuts, candy canes, or fruit, add 5 minutes before the ice cream is finished, when it is thick and almost set.
Churning the Peppermint Candy Cane Ice Cream
I use a Cuisinart 2 qt Ice Cream Maker to churn my ice cream. It is simple to use and produces fantastic ice cream repeatedly. All you need to do to prepare is freeze the insert for at least 48 hours before use. When your ice cream base is ready, remove the insulated ice cream insert from the freezer and place it in the maker. Put the stirring blade inside and place the top on. Turn the machine on. While the maker is churning, slowly add the contents from the blender.
You will know the ice cream is done when you hear the motor begin to struggle to churn. You want the ice cream to reach its thickest point, and then IMMEDIATELY scoop out into any pre-chilled ice cream containers and pop in the freezer. I purchased two Tovolo Tight-Fitting quart containers because they are stackable, easy to wash, and they come in fun ice cream colors.
Everyone lines up in our house with a spoon to taste at this point in the process. Avoid using metal in your ice cream maker, as it will scratch. Rubber spatulas are too flimsy. I prefer a hard silicone rice paddle. Chill for at least 6 hours or overnight unless you prefer a soft serve texture. I usually can’t wait. I recommend preparing this ice cream the day before so it has a proper time to freeze.
Make Time for Special
Peppermint Candy Cane Ice Cream is best served alongside a favorite holiday movie like The Muppet’s Christmas Carol or The Grinch. Associating fun family memories with special foods will make an imprint for life of all the special things you did as a family. Serve it with a sprinkle of crushed peppermint and a peppermint stick, and have a very Merry Christmas. EnJOY!
Check Out These Other Holiday Favorite Posts:
Shop This Post:
Cuisinart 2 qt Ice Cream Maker
Tovolo Tight-Fitting quart containers
Hammond’s Crushed Peppermint Frost (sprinkles)
King Leo Soft Peppermint Sticks (for garnish)
In everything you do -eat, play, and, love- may it always be Seasoned with Joy!
This post contains affiliate links, which means I make a small commission at no extra cost to you. Unless stated otherwise, I will only recommend products I personally enJOY. See my full disclosure here.


