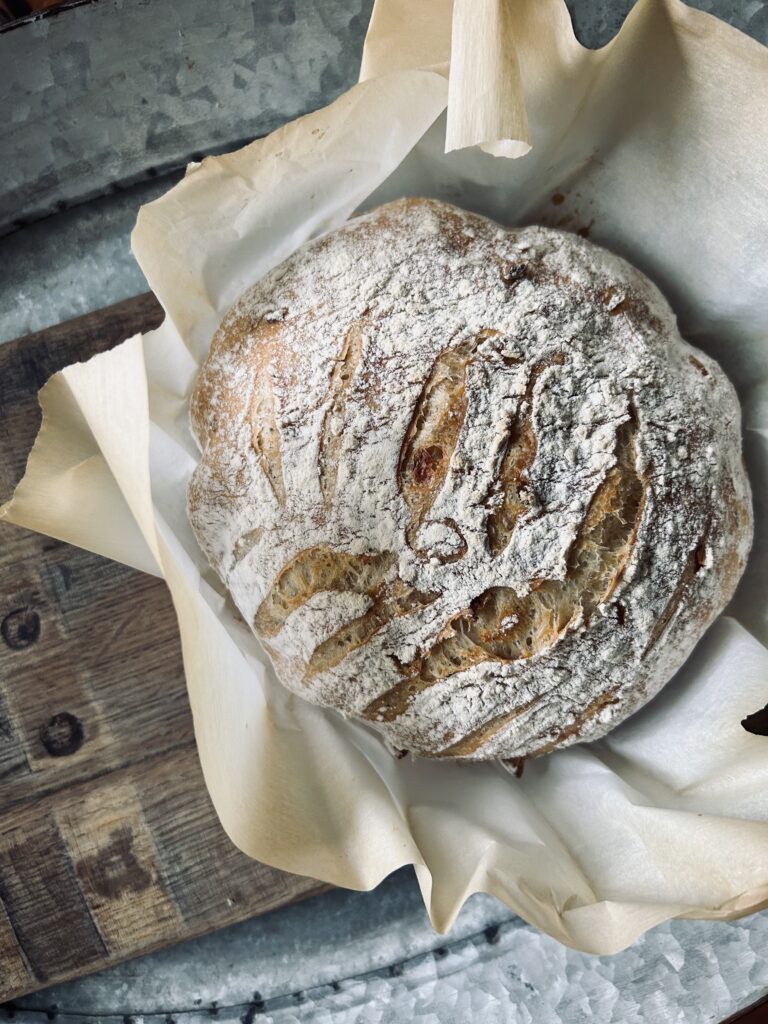
Technically, this No Knead Lemon, Garlic, & Rosemary Bread could just be No Knead Bread, but why? The lemon, garlic, and rosemary give this bread that over-the-top yum factor that literally only takes about twenty minutes of hands-on time to create.
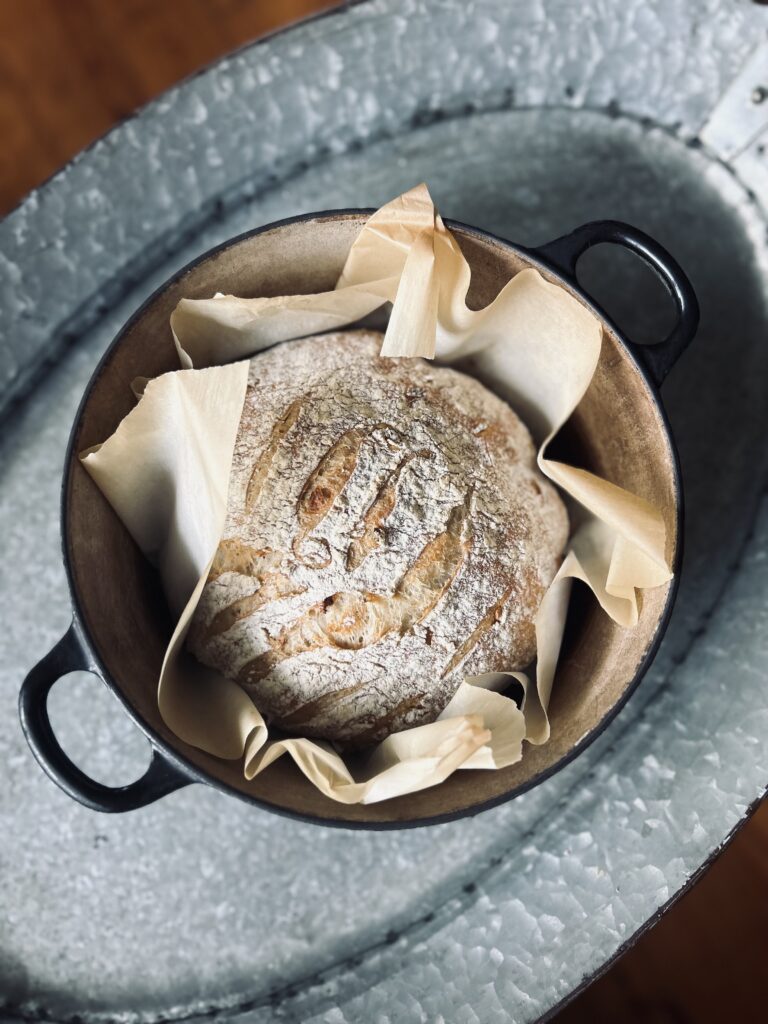
There is nothing like homemade baked bread warm out of the oven and smothered in butter. I am on a kick right now of soup and bread. Soup and bread are a few of my favorite things especially when it literally takes twenty minutes of hands-on time to prepare. That means that time and temperature are doing all the work and you get to indulge in the bounty as if you had really anything to do with it.
Apron tied. Flour on the counter. Oven on. Can you smell it? I can and you definitely want to try your hand at homemade bread. This recipe is an easy-peasy way to test your hand at baking and it doesn’t even require a starter. And when your family walks in the room wondering what that amazing smell is, you can say, “Yeah, that would be bread baking in the oven that I made.”
The Evening Before
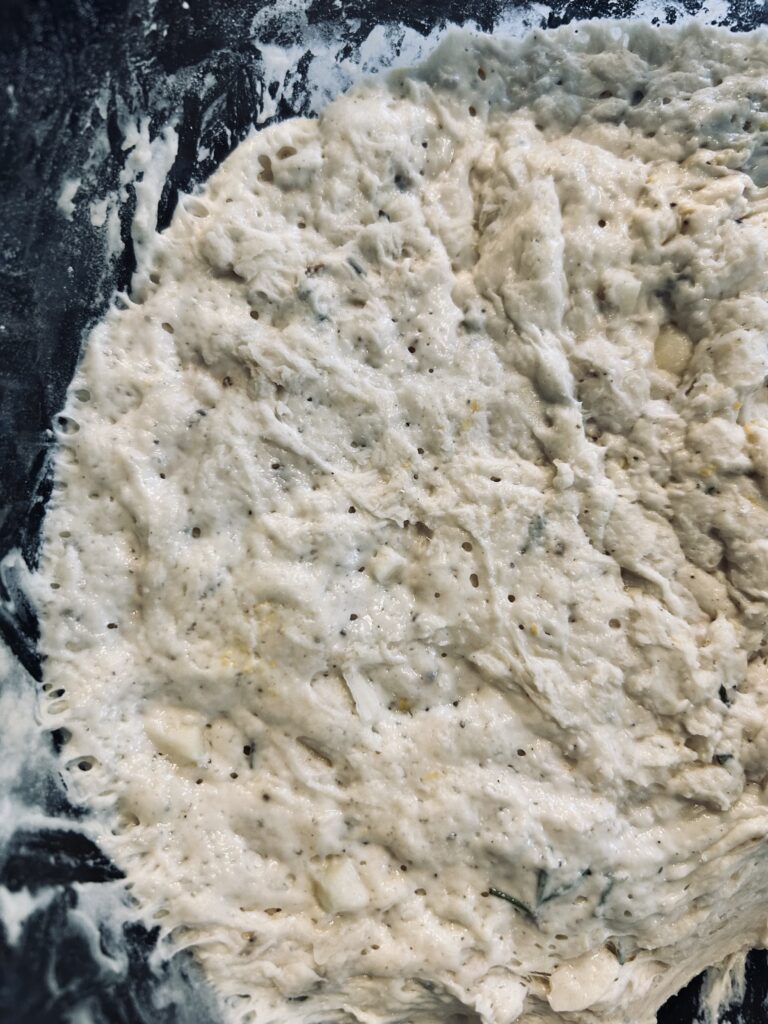
You can feel free to come up with your own system, but here’s what I do. I think backward from when I want to serve my delicious homemade bread. If dinner is 6 p.m., then anytime between 3-8 p.m. the day before, I chop and mix all my ingredients and set them to sleep for 18-24 hours. During this time, the flavors will meld, the dough will rise, and bubbles will form from the fermenting process. You will know the dough is ready when the top of the dough is covered in tiny bubbles. See the picture below.

Alternatively, if you are looking for recipes to use your Preserved Lemons in, well this is one of them. Feel free to substitute 1/4 Preserved Lemon, minced instead of the lemon zest, if you don’t have a lemon on hand. If you have never tried preserving lemons, you will definitely want to try it out as it “yummializes” everything! Check out my post on Preserving Lemons and discover the many ways they will become your favorite, add-to-everything, condiment too.

Rounding Your Dough
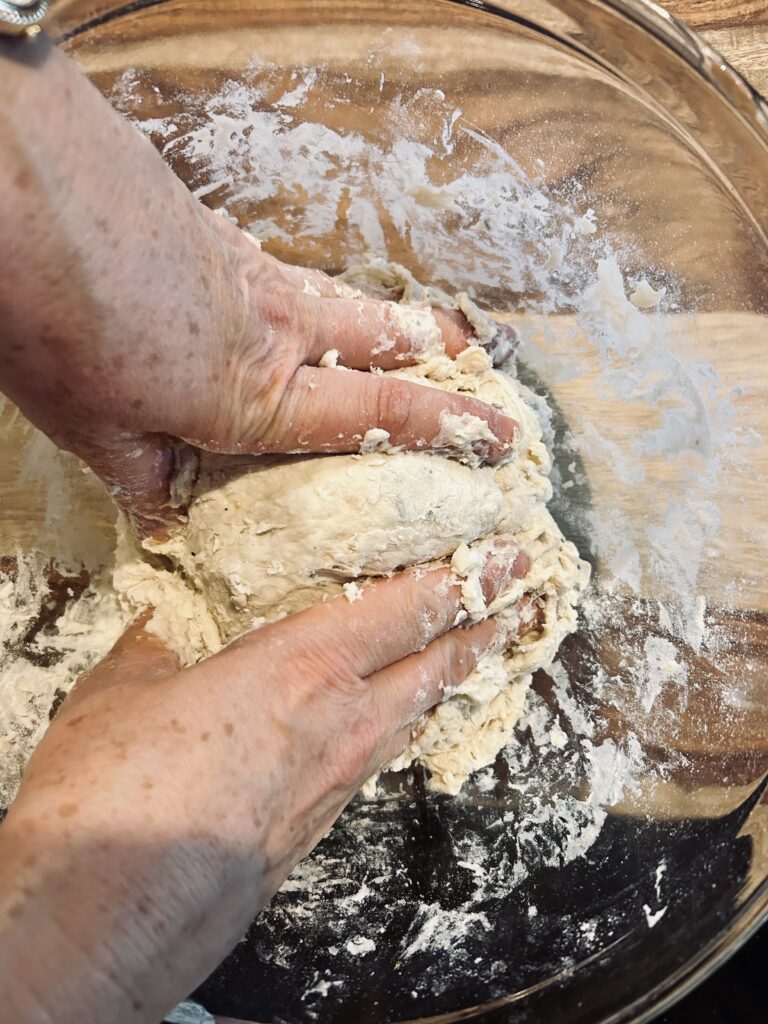
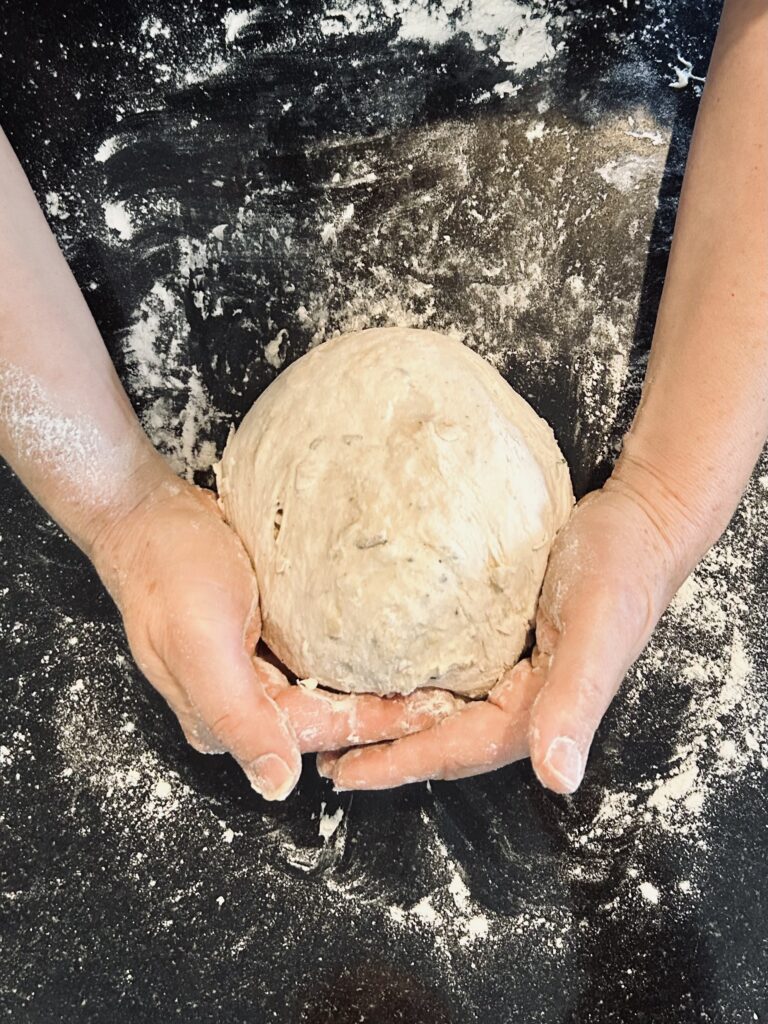
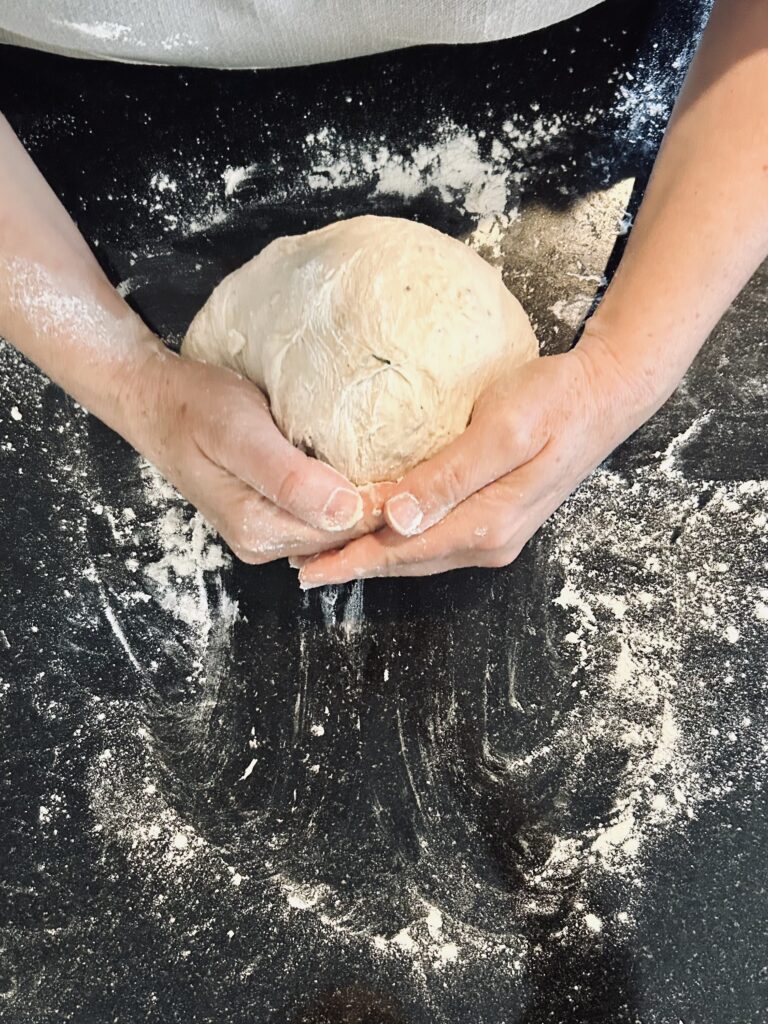
Besides stirring all the ingredients with your hands, which actually stimulates endorphins in your body, forming the dough into a beautiful ball is my favorite part. The dough will be sticky so make sure your hands are well floured and the counter lightly dusted. Ultimately, you don’t want too much flour that will prevent the dough from catching on the counter, but enough that it doesn’t become a sticky mess.
Flour the dough on all sides and carefully and slowly pull the ball toward you. Watch as the gluten in the dough stretches and large bubbles emerge. This will give your bread its beautiful texture and height. Rotate the dough clockwise a quarter turn and pull toward your body again. Keep moving the ball and rotating it in a clockwise direction eight times until a tight ball appears.
Proofing
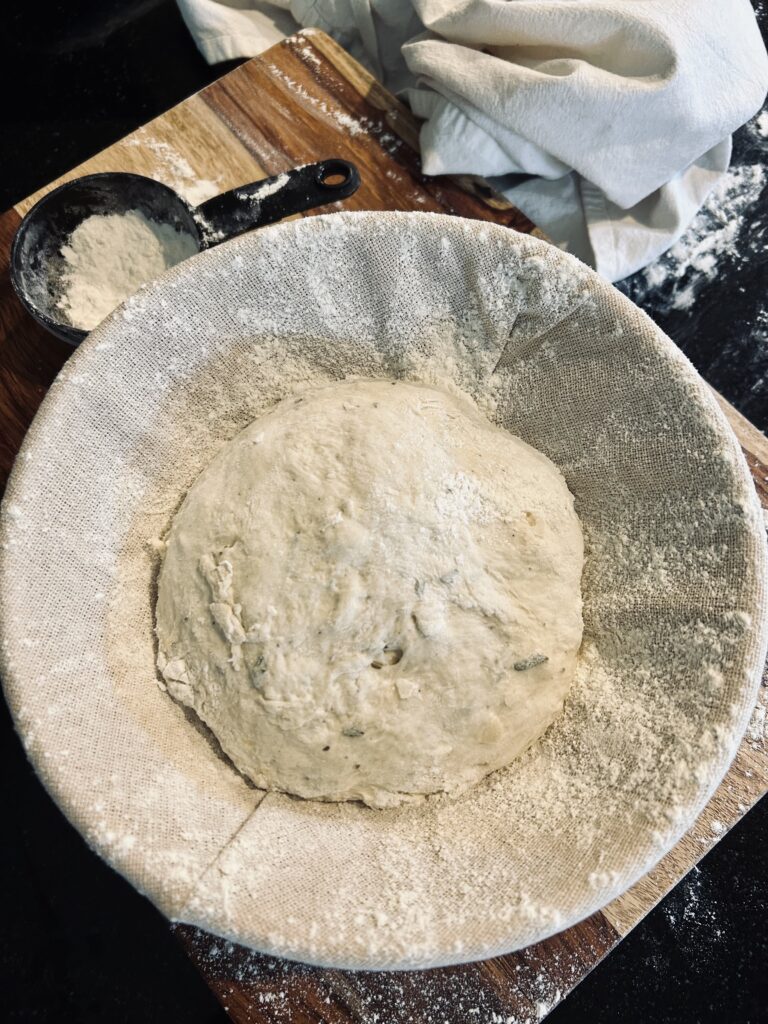
Technically, there is no fancy equipment besides a Dutch oven for this recipe, but if you have a proofing basket, you could use it to keep the dough rounded. Make sure it is well-floured, cover it in plastic wrap and a flour sack towel, and set it in a draft-free location. Truthfully, it turned out as beautiful proofing on a floured sheet of parchment paper, covered with plastic wrap and a flour sack towel. Ultimately, the dough will go into the Dutch oven with the parchment paper either way, which makes the transfer process easy and keeps clean-up a minimum.
Special Touches
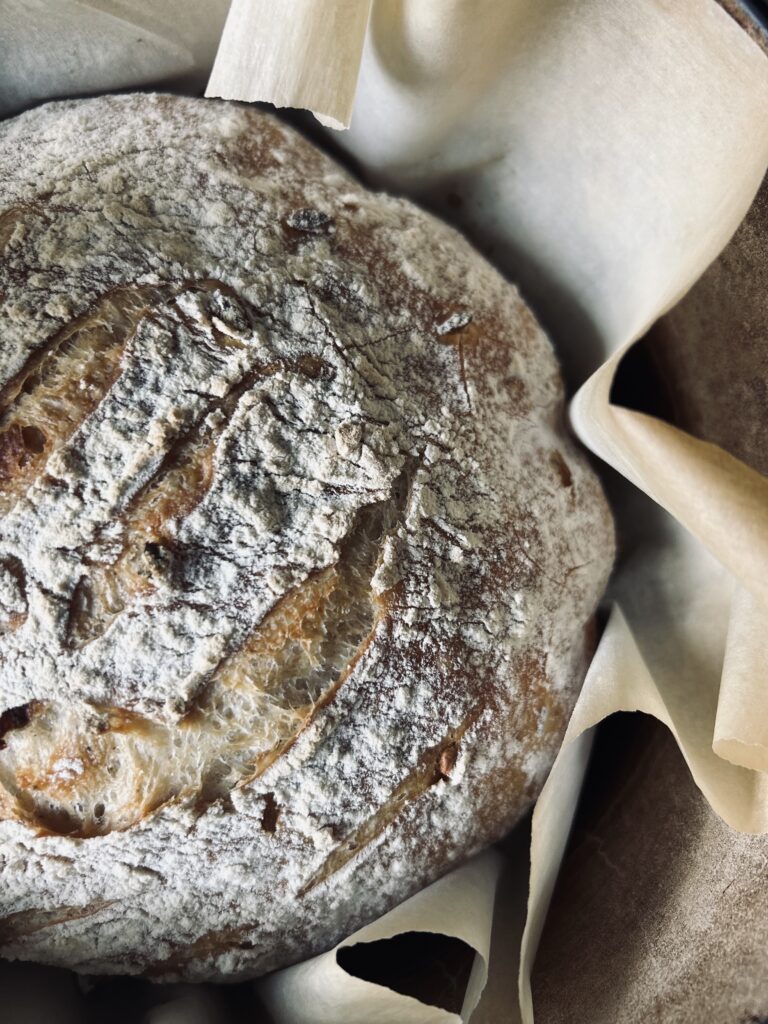
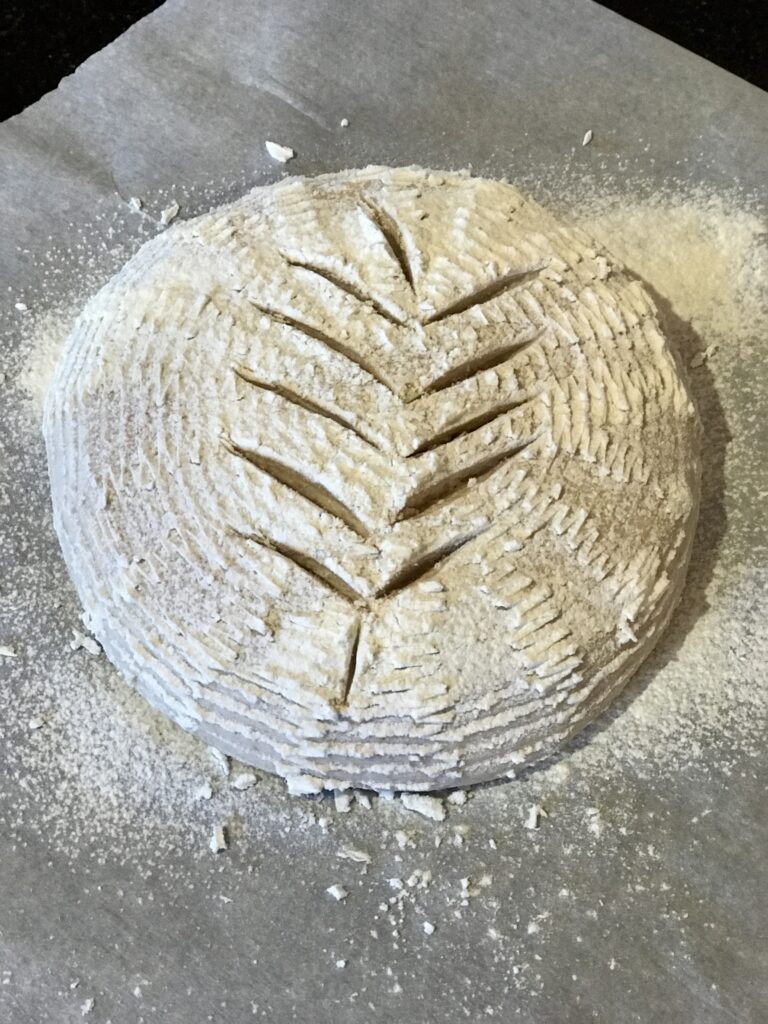
If you want to get fancy, after proofing for at least an hour, you can scour the top of the bread with a Bread Lame Scouring Knife in any pattern you like. An X-leaf pattern or four swipes in a box shape are the usual designs. Just make sure to dust the top with flour before you scour (hey, that rhymes), so you see the pattern after it bakes.
Baking the Bread
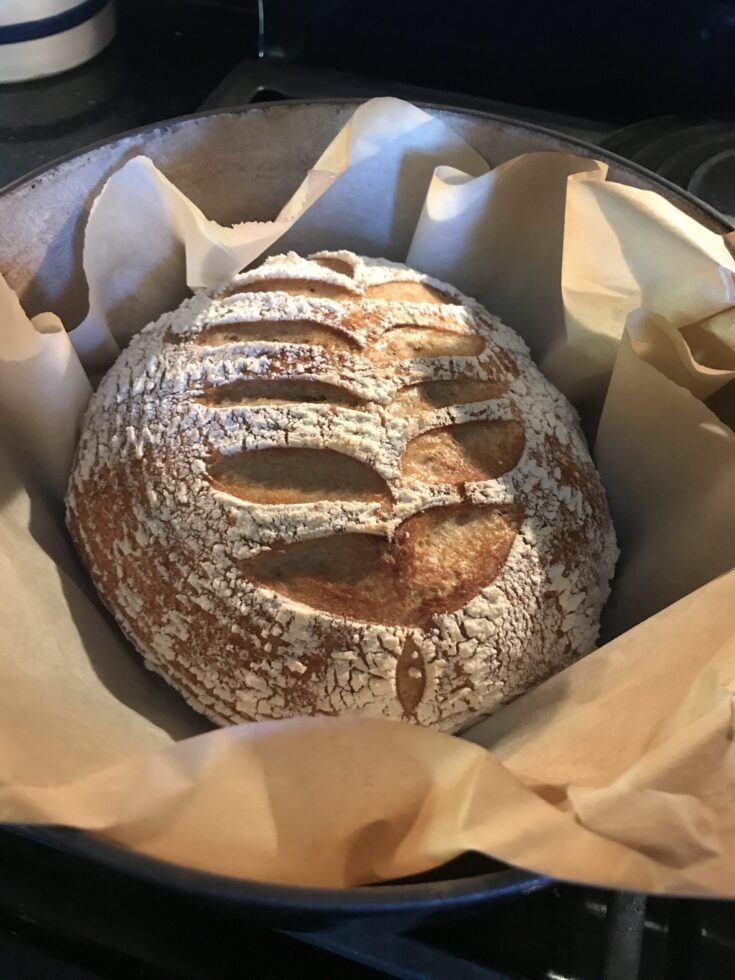
It is important to preheat your Dutch oven with the lid in the oven for at least 30 minutes at 450° F. I do this while the bread is proofing. After 30 minutes, carefully remove the Dutch oven, lifting the lid with mitts, and place the dough on the parchment paper down into the Dutch oven. Cover and bake for 30 minutes covered. When the timer sounds, remove the lid and bake for an additional 15-20 minutes until golden. Usually, I leave the bread in the Dutch oven a few minutes after I remove it from the oven and use the parchment paper as handles to pull up the bread. Bang, no mess. Brilliant. Just be aware not to have your parchment paper touching any heating elements while baking. Parchment is made to withstand heat up to 450° F, but always take caution.
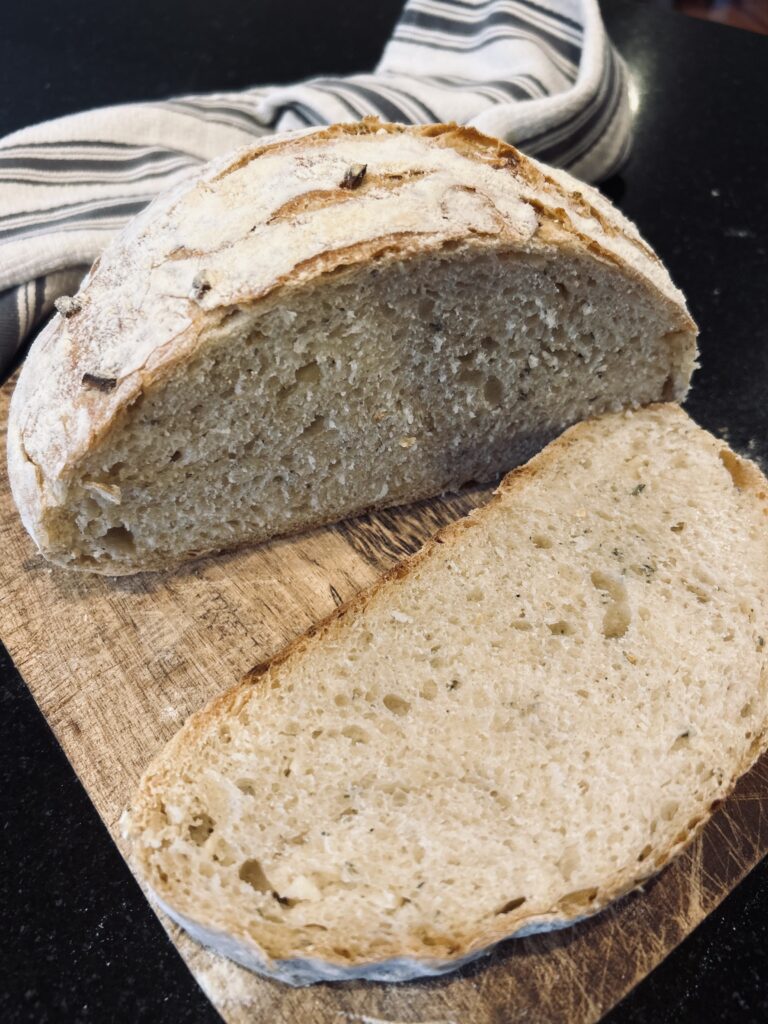
Allow to cool for 15-30 minutes (if you have enough self-control) to preserve its shape. Slice, slather in butter, and dip into your favorite soup, like Avgolemono Greek Lemon Chicken Soup, Roasted Heirloom Tomato Soup, or Potato, Sausage, & Kale Soup…my favorites. EnJOY!
No Knead Lemon, Garlic, & Rosemary Bread
Ingredients
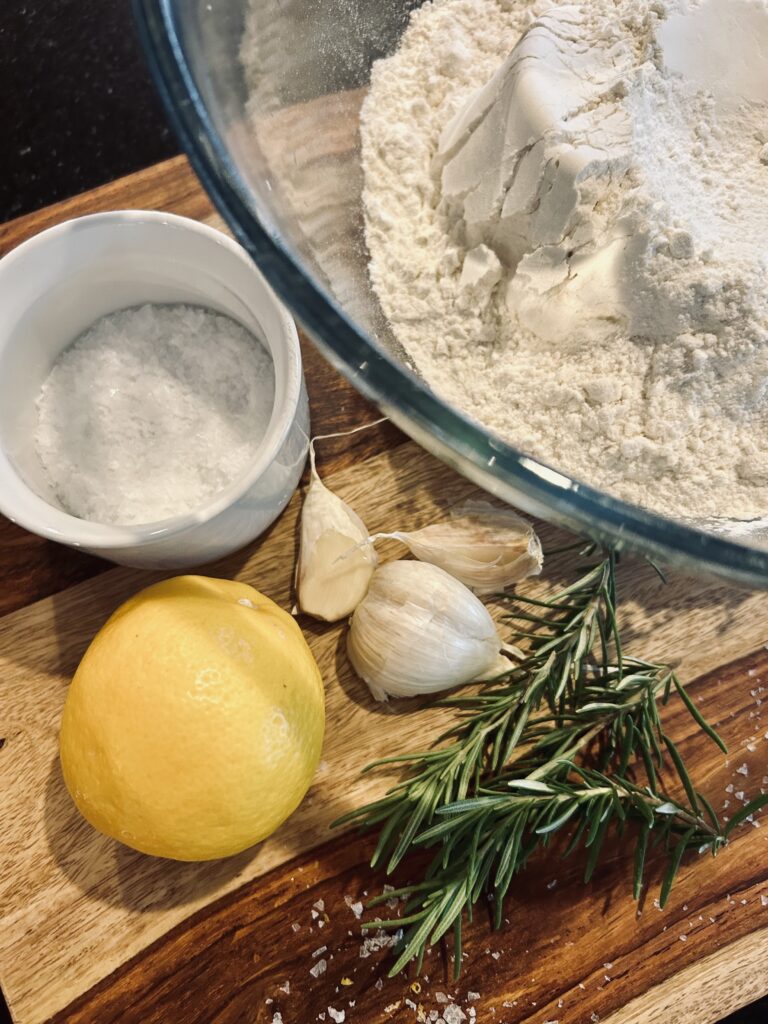
- 3 cups all-purpose flour plus extra for sprinkling
- 2-4 cloves of garlic, minced
- 1 Tablespoon minced fresh rosemary
- zest of 1 organic lemon or 1/4 minced Preserved Lemon
- 2 tsp. sea salt
- 3/4 tsp fresh ground pepper
- 1/2 tsp active dry yeast
- 1 1/2 cups warm water (about 105°-110° F)
Instructions
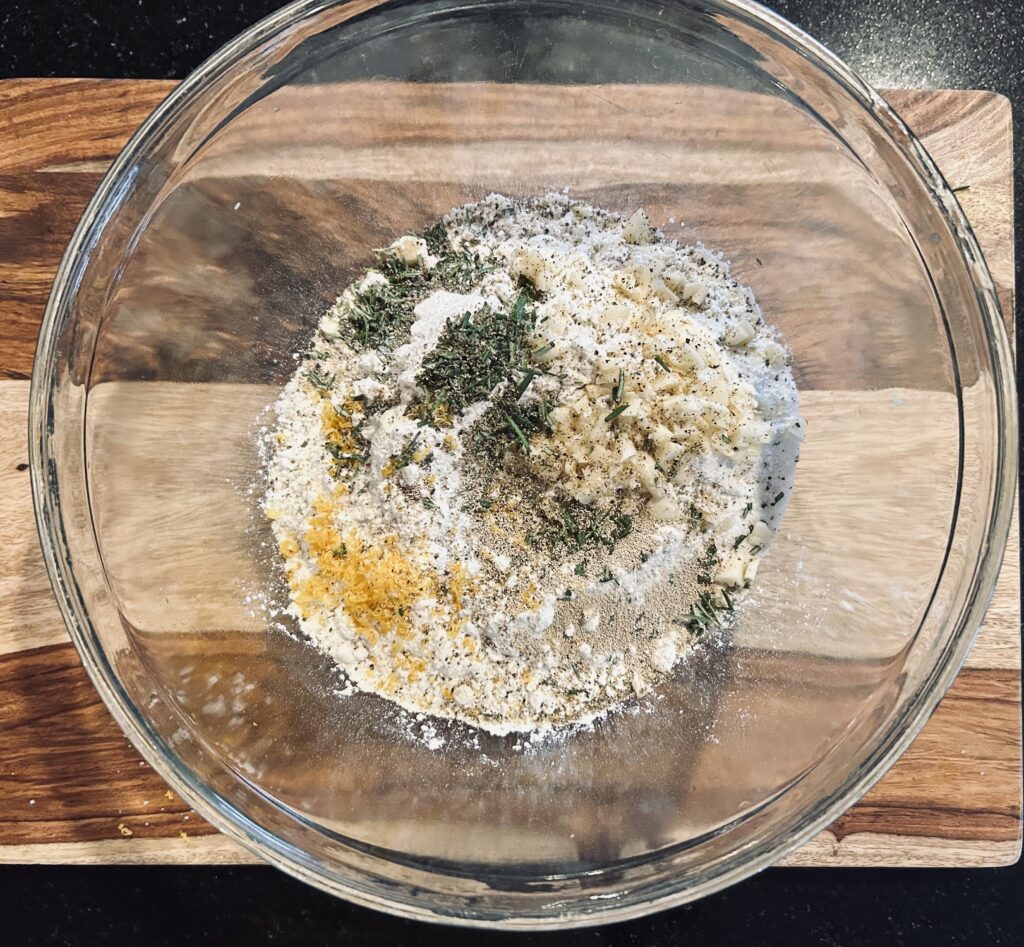
- In a large, glass bowl, combine flour, garlic, rosemary, lemon zest, salt, pepper, and yeast.
- Add water and mix until a sticky dough forms, about 1 minute. This is fun to do with your hands as it stimulates endorphins when you create with your hands.
- Cover bowl tightly with plastic wrap and a tea towel and place in a room free from drafts, until the surface starts to bubble a bit. This should take about 18-24 hours (hidden time is doing all the work).
- Lightly flour parchment paper and set aside.
- Scoop out the dough onto a lightly floured, clean countertop and gently form dough into a round ball. I like to use the pull and rotate method. Cup dough in your hands and gently pull toward you. Rotate and pull, repeating 8x until dough is a tight ball.
- Carefully place dough ball onto the floured parchment paper and cover with the plastic wrap and tea towel while you preheat the oven to 450° F.
- Place a dutch oven with lid into the oven while it is preheating for 30 minutes.
- If you would like to make a pretty pattern on your bread, use a bread scouring knife, or lame to slash the top before baking. Make sure you sprinkle the dough with flour first so you see the pattern after it bakes.
- After 30 minutes, carefully remove dutch oven with oven mitts and place parchment paper and dough into it and cover.
- Bake covered for 30 minutes and uncovered an additional 15 minutes until golden.
- Allow bread to sit for 15-30 minutes to preserve shape, then serve warm with butter and a cozy bowl of soup.
Check Out These Other Related Posts:
Shop This Post:
Le Creuset Dutch Oven or Lodge 6 Qt Enameled Cast Iron Dutch Oven for a more affordable version
Proofing basket (comes with a scouring knife)
In everything you do -eat, play, and, love- may it always be Seasoned with Joy!
This post contains affiliate links, which means I make a small commission at no extra cost to you. Unless stated otherwise, I will only recommend products I personally enJOY. See my full disclosure here.

